A Simple Sourdough Bread Recipe
Make your Sourdough Mother (this will take from 5-8 days)
You will need:
Large glass jar
A piece of muslin (or similar) to create a breathable lid for the jar.
Rubber band or string to secure the muslin.
Strong bread flour
Water (filtered if you can)
Day 1
Mix 1tbsp strong bread flour with about 2tbsp water. You can use white, brown or rye flour – whatever your preference, but just remain consistent and use the same flour type for feeding the starter each day.
Stir to a creamy consistency and cover the jar opening with muslin secured with a band. Leave on a windowsill or outside if you prefer, but not in the fridge. This allows it to gather yeasts from the air whilst keeping dust and other unwanteds out of the starter mixture.
Days 2 – 5 or longer
Repeat Day 1 by stirring in 1tbsp flour and a little water, covering and leaving.
After a few days the flour and water mixture will produce a few bubbles about an hour after ‘feeding’. The life force has arrived and your Mother is born and ready to use.
How to make your Sourdough Loaf
1: Mix the Dough
In a large bowl whisk the following ingredients using a fork or similar utensil:
250 g water
150 g sourdough starter which has been fed an hour or so before making the loaf so that it has fresh, small bubbles in it
25 g olive oil
Add:
500 g strong bread flour
Using your hands bring the mixture together until the flour is fully combined.
Cover the bowl with a plate or damp kitchen towel and let rest or ‘autolyse’ for about 30 minutes.
After the dough has rested, add 10 g sea salt and work it into a ball in the bowl.
Cover the dough again and leave to autolyse for 15 minutes or more.
Autolysation is the first resting period which starts the gluten development process and strong gluten makes a good loaf.
2: The Rise
The dough is now ready to rise.
Cover the bowl and let the dough rise at room temperature for 30 minutes or more. Timings can be worked to suit your day because the dough does not contain fast-acting yeast and so the process is a slow one but not an arduous one.
After about 30 minutes stretch and fold the dough. You can do this in the bowl. Wet your hand and simply work round the dough lifting the dough from the edge and stretching it into the middle as if you were taking four corners of a napkin and folding them into the middle of the napkin. You only need to do one turn of the bowl, stretching and pulling like this, so there’s no arduous kneading involved.
Cover and leave the dough. After 30 minutes or longer depending on your day, repeat the above step. Stretching and folding the dough develops a stronger gluten. Repeat this step at least once more.
3. Proving
Use a banneton (a purpose made bread proving basket with and optional fabric liner) or a bowl lined with a clean tea towel (my preference). Sprinkle the fabric liner with flour and optional seeds such as poppy, black sesame, sunflower seed – whatever you like, or oats.
Tip the dough into the proving vessel and leave undisturbed to rise for several hours depending on the temperature. I put mine in a cool oven overnight so that I can bake it in the morning.
4. Baking the Loaf
Choose a baking vessel. This should be lidded and able to withstand a temp. of 220C. An oven roasting tin works well. The moisture within the dough will become steam in the lidded vessel and this creates the characteristic holey texture of the sourdough bread.
Preheat your oven to 220C. Place the baking vessel into the oven to pre-heat as the oven warms up.
When hot, remove the baking vessel from the oven, take the lid off and sprinkle the base of it with flour to prevent the loaf from sticking.
Turn your dough out of the proving vessel into the baking vessel so that the underside of the loaf (the seeded side, if you have used seeds) is topmost. For a really delicious crust sprinkle with a little more sea salt.
Score the top of the loaf with a sharp blade such as a razor blade which can be attached to a lame which is a purpose-made handle for the job. You can make a simple single line score, or a cross, or any other pattern you like.
Put the lid back onto the baking vessel and put the loaf into the hot oven to bake for 20 minutes. After 20 minutes the loaf is ‘set’.
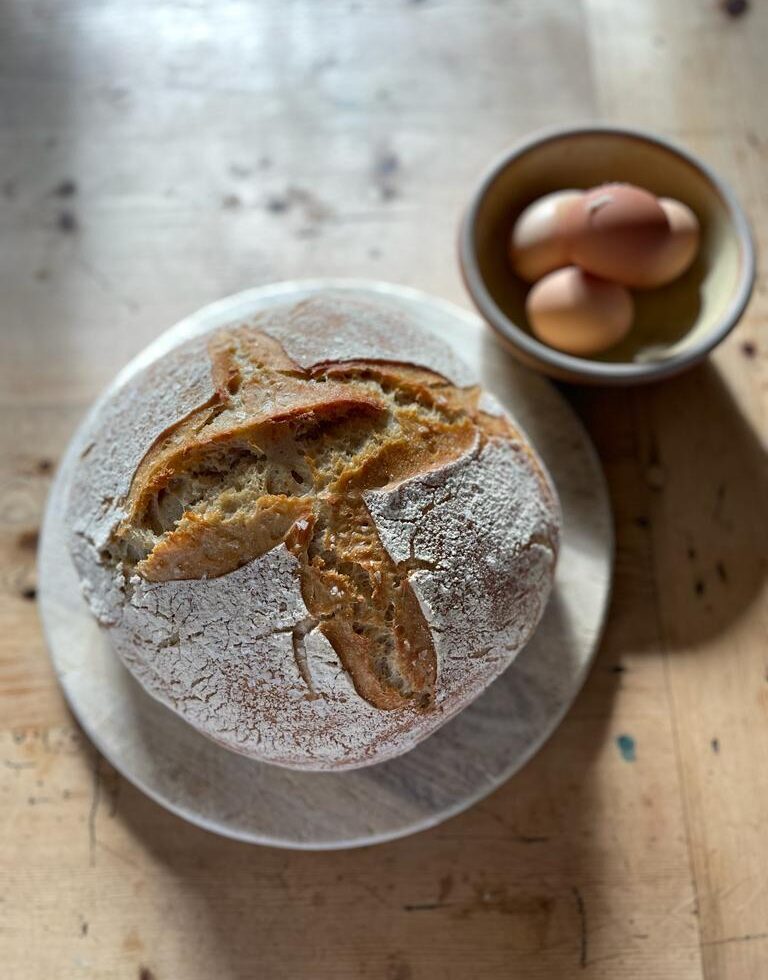
You can now remove the lid to let the loaf brown and the crust crisp up. Bake for another 25 minutes or until the crust is golden brown.
Remove from the oven and leave too cool for at least an hour before slicing into it. Tempting though it might be, to slice into the loaf before it is cool will result in a squishy loaf. View our up and coming sourdough workshops or to book a private group or 121/couples workshops / corporate days out / with or without accommodation depending upon availability – click here
No responses yet